How to Detail Your Car Interior Like a Professional: Step by Step
Interior detailing is a skill that takes time to develop, but the fundamentals are accessible to any car owner willing to invest in the right products and follow the correct sequence. Most of the difference between amateur and professional interior results comes down to having appropriate tools, working in the right order, and using products suited to each specific material type. Here is the complete professional process from start to finish.
Gather the Right Equipment First
The quality of your products determines the ceiling of your results. You need a vacuum with crevice and brush attachments, a source of compressed air or dedicated detailing blower, an interior all-purpose cleaner appropriate for multiple materials, carpet shampoo and a stiff agitation brush, a dedicated leather cleaner and conditioner for leather-equipped vehicles, a large supply of clean microfiber towels, detailing brushes in multiple sizes, a streak-free interior glass cleaner, and UV protectant for plastics and vinyl. Do not use household cleaning products on automotive interiors — many are too harsh for automotive finishes, contain silicone or ammonia that causes long-term surface damage, or are simply the wrong chemistry for automotive materials.
Start with the Dry Stage: Air and Vacuum
Before introducing any moisture or liquid products, complete the dry stage entirely. Remove all floor mats and set aside. Use compressed air or a detailing blower to clear every vent, seat seam, console crevice, dashboard button, and cup holder. This loosens debris from hidden areas so vacuuming picks it up rather than spreading it around. After blowing everything out, vacuum thoroughly — seats, carpets, trunk, door pockets, and under all seats with the seats moved fully forward and back to access everything hiding underneath. This step done well makes every subsequent cleaning step easier and more effective.
Work Top to Bottom Without Exception
Always work from the highest surfaces downward so debris and drips from upper surfaces fall onto areas you have not yet addressed. Clean the headliner first if needed, then work down through the dashboard and upper panels, center console, door panels, seats, and finally the floor carpets and mats as the last step. This order prevents re-contaminating cleaned surfaces and makes the whole process more efficient.
Clean Each Material with the Right Products
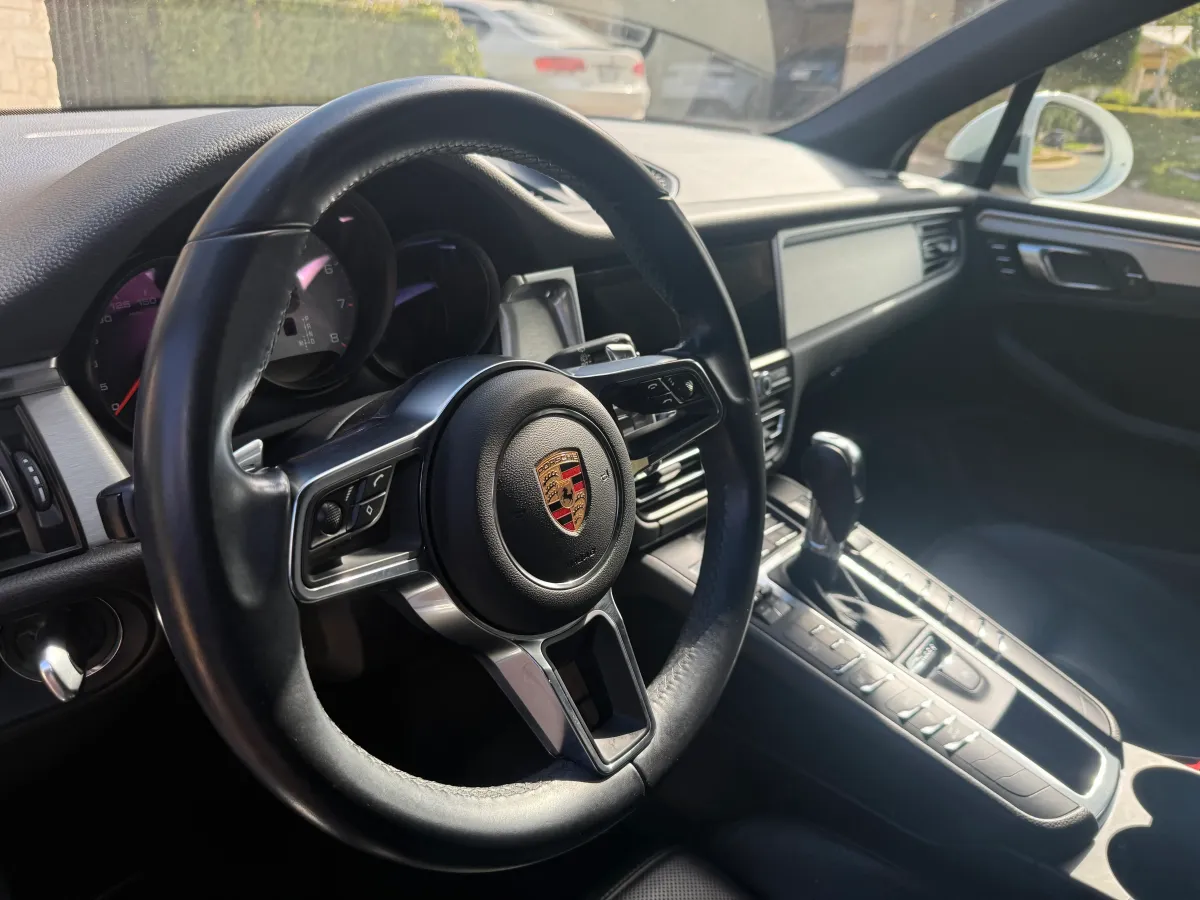
Apply interior all-purpose cleaner to a microfiber applicator pad rather than directly to the surface, and work in sections appropriate to the material's sensitivity. Use smaller detailing brushes for buttons, stitching lines, and textured surfaces. For fabric seats: apply carpet shampoo, agitate firmly with a stiff brush in multiple directions to loosen embedded contamination, then extract with a wet-dry vacuum or dedicated extraction machine. For leather seats: apply dedicated leather cleaner with a microfiber applicator in small working sections, wipe clean with a fresh microfiber, then immediately follow with leather conditioner worked gently into the grain with a separate clean applicator.
Carpet Extraction: The Step Most Skip
Hot water extraction is the most physically demanding step and the one most home attempts underperform or skip. Apply shampoo generously, agitate thoroughly with a stiff brush in multiple directions, then extract completely. On heavily soiled carpet, repeat the shampoo-agitate-extract cycle two or three times until the extracted water runs significantly cleaner. The difference in deep cleanliness and odor between properly extracted carpet and merely vacuumed carpet is dramatic and immediately perceptible.
Finish with Glass and UV Protectant
Clean all interior glass last using interior-specific glass cleaner on fresh clean microfiber, folding frequently to avoid redistributing the haze film being removed. Apply UV protectant to all dashboard, door panel, console, and other plastic and vinyl surfaces as the final step, buffing to a clean, even finish that protects against the fading and cracking that Texas UV causes on unprotected interior materials over time. The complete process from start to finish on a standard vehicle takes three to four hours done properly — significantly longer than most home attempts because each step is done thoroughly rather than quickly.
If you prefer to leave it to the professionals, KlenCars interior detailing covers all of this and more across Austin, Cedar Park, Leander, Liberty Hill, and West Lake Hills. Book your appointment today.
When to Call the Professionals
The DIY interior detail process produces genuinely good results when followed carefully — but deep-set stains, pet odors in carpet padding, beginning leather cracking, and severe accumulated contamination across multiple surfaces benefit from professional equipment and expertise that home approaches cannot match. Professional hot water extraction machines generate heat and suction levels that consumer wet-vacs do not approach, which is why professionally extracted carpet consistently looks and smells dramatically cleaner than home-extracted carpet from the same vehicle. For these situations, our professional interior detailing service delivers results that DIY approaches cannot achieve, at a cost typically far less than the accumulated value of the materials being protected. The right detail frequency for your vehicle depends on use and parking conditions. Our team can advise on the schedule that makes the most sense for your specific situation. Book your interior detail today.